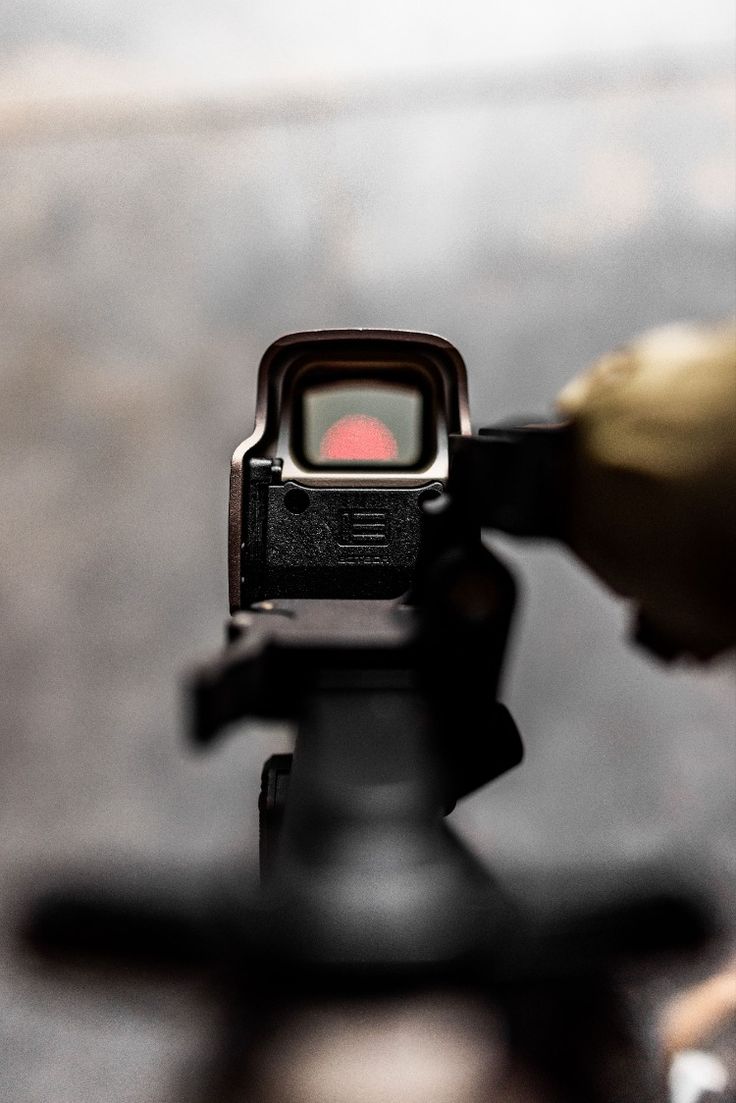
Zeroing your optic like a sniper
Precision is not luck. It is math and muscle memory. Learn the step by step process to zero any optic at any distance so your first round hits exactly where you aim.
The mission
Every shooter knows the feeling. You line up the perfect sight picture. You squeeze the trigger with confidence. And the round lands nowhere near where you aimed. Frustration sets in. Doubt creeps in. But the problem is not you. The problem is your zero.
Zeroing an optic is the single most important step before any range session. Without a proper zero your firearm is just a noise maker. With a proper zero every shot becomes predictable. Every shot becomes repeatable. Every shot becomes yours.
What zero actually means
Zeroing means aligning your point of aim with your point of impact at a specific distance. When your optic is zeroed the bullet goes exactly where the crosshair sits. Simple in concept. Tricky in execution.
Most shooters zero at 25 yards for handguns and 50 or 100 yards for rifles. But the right distance depends on your firearm caliber and intended use. A close quarters pistol needs a different zero than a long range bolt action rifle. Know your mission before you start.
The tools you need
Before you head to the range gather these essentials
Your firearm and optic mounted securely
At least 50 rounds of the same ammunition you plan to use
A stable rest or sandbag
A target with clear aiming points
A screwdriver or tool for adjusting your optic
A notebook to record your adjustments
Do not mix ammunition types during zeroing. Different brands and grain weights impact point of impact. Stick to one load from start to finish.
The process step by step
Step one set up at the range
Place your target at your chosen zero distance. Use a stable rest to eliminate human error. Your goal is to remove as much movement as possible. Breathe slow. Relax. Focus.
Step two fire a group
Aim at the center of the target and fire three to five rounds. Do not adjust anything yet. Just shoot. This group tells you where your firearm is currently hitting. Not where you want it to hit. Where it actually hits.
Step three measure the shift
Look at your group. Are the rounds hitting high or low Left or right Measure the distance from your point of aim to the center of your group in inches. This number is your correction factor.
Step four adjust your optic
Most optics use turrets marked with MOA or MIL adjustments. Turn the turrets the correct direction to move your point of impact toward your point of aim. Remember the rule. If your rounds hit low you adjust up. If they hit high you adjust down. If they hit left you adjust right. If they hit right you adjust left.
Step five fire another group
After making adjustments fire another three to five round group. Check where the rounds land now. If they are close to the center you are on the right track. If they are still off repeat the adjustment process.
Step six confirm and record
Once your group hits center fire one more group to confirm. If the group holds at center your zero is done. Write down your adjustment settings in your notebook. You will thank yourself later.
Common mistakes to avoid
Rushing the process
Zeroing takes time. Do not rush. Fire carefully. Adjust carefully. Confirm carefully.
Using cheap ammunition
Your zero is only as good as your ammo. Use the same quality rounds you plan to shoot in the field.
Forgetting to tighten screws
After every adjustment ensure your turret screws are tight. Loose screws mean a lost zero.
Final thought
Zeroing is not a one time task. Recheck your zero after transport after cleaning and after any impact to your optic. Conditions change. Gear shifts. Stay disciplined. Reconfirm regularly. Because when the shot counts your zero should never be a question. It should be a certainty.
